Introduction: Embrace the Future of Home Automation
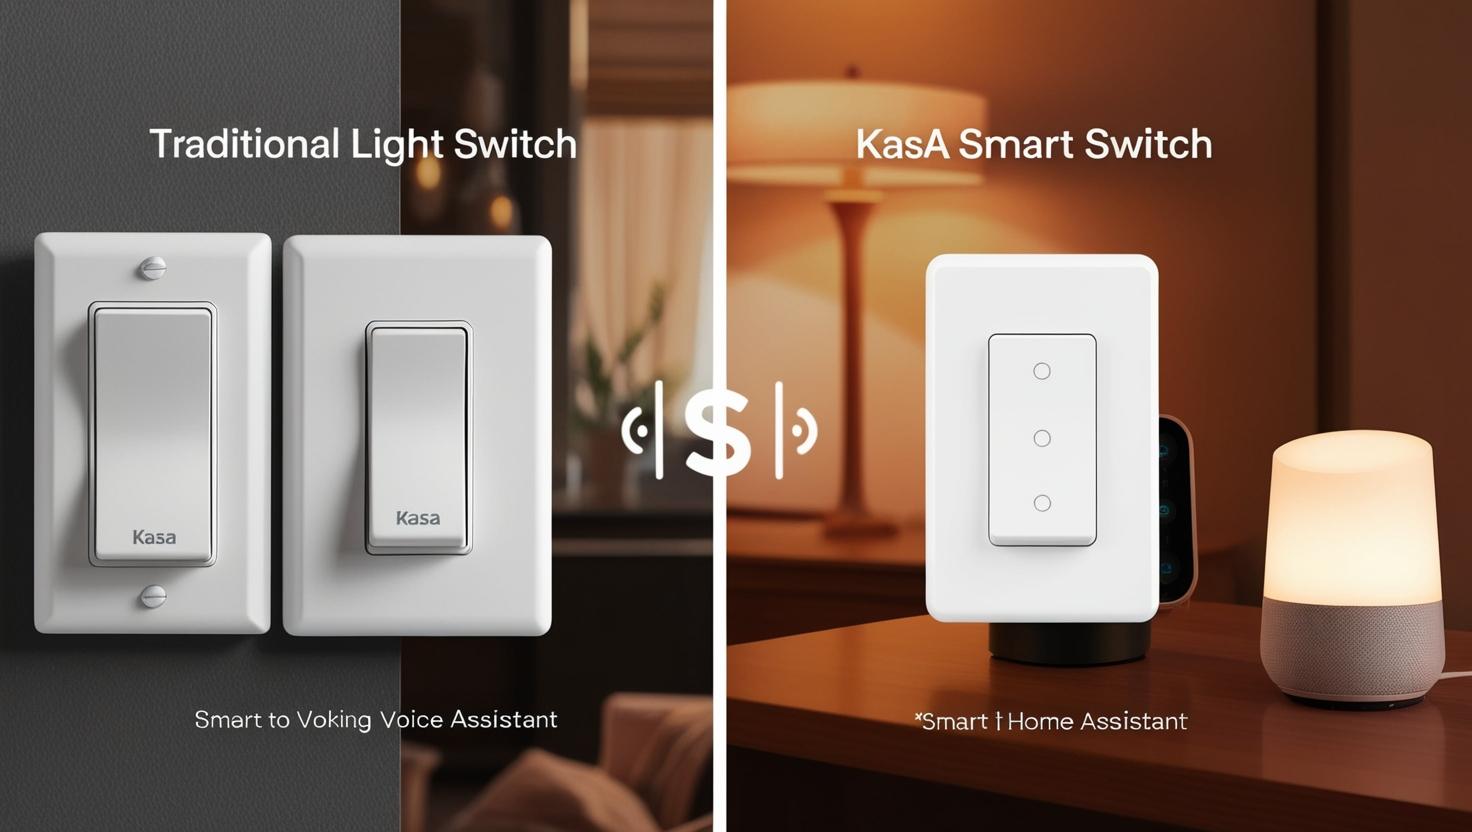
Imagine controlling your home’s lighting with a simple voice command or a tap on your smartphone. Kasa Smart Switches by TP-Link make this a reality, offering convenience, energy efficiency, and enhanced security. Whether you’re a tech enthusiast or a homeowner seeking modern solutions, understanding how to install, configure, and optimize these switches is essential. This guide provides detailed answers to common questions, ensuring you harness the full potential of Kasa Smart Switches.
Who Makes Kasa Smart Switches?
Kasa Smart Switches are crafted by TP-Link, a globally recognized leader in networking and smart home technology since 1996. Renowned for their reliable routers, extenders, and smart devices, TP-Link brings the same quality and innovation to their Kasa Smart line. This heritage ensures that Kasa Smart Switches are not only dependable but also designed with the user in mind, making them a trusted choice for home automation.
How to Install a Kasa Smart Switch
Installing a Kasa Smart Switch is a manageable DIY project if you’re comfortable with basic electrical work. Here’s a detailed step-by-step guide:
- Turn Off Power: Safety first—switch off the power at your circuit breaker.
- Remove the Old Switch: Unscrew your existing switch and disconnect the wires. Snap a quick photo of the setup for reference.
- Identify Wires: Most Kasa switches need:
- Neutral (White): Powers the smart features.
- Live/Load (Black): Two black wires for power and the light.
- Ground (Green or Bare): Ensures safety.
- Wire It Up:
- Connect the switch’s white wire to the neutral bundle in the wall.
- Attach the two black wires to the live and load wires (match your photo or test with a voltage tester).
- Hook the green ground wire to the ground in the box.
- Mount the Switch: Secure it into the wall box and snap on the faceplate.
- Restore Power: Flip the breaker back on and test the switch manually.
- Set Up the App: Download the Kasa Smart app, sign in, and follow the prompts to connect to your Wi-Fi.
Note: Models like the HS220 (dimmer) or 3-way switches follow similar steps but may have specific wiring tweaks check the manual for your model.
How to Reset a Kasa Smart Switch
Need to troubleshoot or reconfigure? Resetting is simple:
- Find the Reset Button: Look for a small button on the side or bottom of the switch (e.g., on the HS200 or HS220).
- Soft Reset: Hold for 5 seconds until the LED blinks amber and green. This clears Wi-Fi settings but keeps schedules.
- Factory Reset: Hold for 10 seconds until the LED blinks rapidly. This wipes everything back to factory defaults.
After resetting, reconnect via the Kasa app.
How to Install a Kasa Smart Switch Without a Neutral Wire
Most Kasa Smart Switches (like the HS200 or HS220) require a neutral wire to power their smart functionality. If your home lacks one, here’s what to know:
- Why It’s Needed: The neutral wire completes the circuit for the switch’s Wi-Fi and smart features.
- Check Your Box: Look for bundled white wires in the back—sometimes they’re there but unused.
- Alternatives:
- Hire an electrician to add a neutral wire (not always practical).
- Opt for a no-neutral smart switch like Lutron Caseta (a different ecosystem).
- Use smart bulbs instead, which don’t need a neutral at the switch.
- Safety Warning: Installing without a neutral can damage the switch or pose risks—don’t bypass this requirement.

Are Kasa Smart Switches Good?
Absolutely! Kasa Smart Switches earn high marks for:
- Reliability: TP-Link’s track record ensures consistent performance.
- Ease of Use: The Kasa app is intuitive, and setup is a breeze.
- Compatibility: Works with Alexa, Google Assistant, and IFTTT for seamless integration.
- Value: Affordable without skimping on quality.
They’re a top pick for anyone wanting to dip their toes into smart home tech.
How to Change the Wi-Fi Network on a Kasa Smart Switch
Moved to a new network or updated your password? Reconnect your switch like this:
- Soft Reset: Hold the reset button for 5 seconds until the LED blinks amber and green.
- Open the Kasa App: Hit the “+” icon to add a device.
- Select Your Model: Pick your switch type (e.g., single pole, 3-way, HS220).
- Connect to New Wi-Fi: Follow the app’s prompts to join your new network.
Pro Tip: Ensure your phone is on the 2.4GHz band Kasa switches don’t support 5GHz.

How to Connect a Kasa Smart Switch to Alexa
Voice control with Alexa is a snap:
- Install the Switch: Confirm it’s working via the Kasa app.
- Open Alexa App: Navigate to “Skills & Games,” search “Kasa Smart,” and enable it.
- Link Accounts: Sign in with your Kasa credentials.
- Discover Devices: Tap “Discover Devices” or say, “Alexa, find my devices.”
- Group It: Assign the switch to a room for commands like, “Alexa, turn on the bedroom lights.”
How to Wire a Kasa Smart Switch
Wiring varies slightly by model (e.g., dimmer HS220 vs. 3-way), but here’s the general process:
- Power Off: Cut power at the breaker.
- Identify Wires: Neutral (white), live/load (black), ground (green/bare).
- Connect:
- White to neutral bundle.
- Two black wires to live and load (check your old setup).
- Green to ground.
- Secure: Use wire nuts, tuck wires in, and mount the switch.
For Dimmers: The HS220 may have additional load requirements consult the manual.
Where to Buy Kasa Smart Switches
Grab yours from:
- Online: Amazon, Best Buy, Walmart, or TP-Link’s site.
- In-Store: Home Depot, Lowe’s, or local electronics retailers.
Check for deals, especially on models like the HS200 or HS220.
Can I Use My Kasa Smart Switch Away from Home?
Yes! With the Kasa app, you can control your switch from anywhere with an internet connection. Perfect for turning lights on while vacationing to mimic occupancy.
Does the Kasa HS200 Smart Switch Work with IFTTT?
Yes, the HS200 supports IFTTT for custom automations. Here’s how to set it up:
- Sign Up: Create an IFTTT account at ifttt.com.
- Link Kasa: Search for “Kasa” under services and connect your account.
- Create Applets: Example—turn on lights when your smart camera detects motion.
How to Manually Operate a Kasa Smart Light Switch
No app? No problem. Press the physical button on the switch to toggle the lights on or off. It’s that simple.
How to Pair a Kasa Light Switch with the Smart Life App
Kasa switches are built for the Kasa app and don’t natively pair with Smart Life. For Smart Life compatibility, consider Tuya-based switches instead. Alternatively, use IFTTT to bridge Kasa and Smart Life devices.
What Are the Operating Temperatures for Kasa Smart Switches?
Kasa Smart Switches operate between 0°C to 40°C (32°F to 104°F), making them ideal for indoor use. Avoid extreme heat or cold, like uninsulated garages.
Troubleshooting Tips
- Won’t Connect to Wi-Fi: Use 2.4GHz, restart your router, or reset the switch.
- Not Responding: Update firmware in the Kasa app or check Wi-Fi range.
- Wiring Issues: Double-check connections—loose wires are a common culprit.
Conclusion: Elevate Your Home with Kasa Smart Switches
Kasa Smart Switches by TP-Link offer a reliable and user-friendly solution for smart home lighting. With features like remote control, voice assistant compatibility, and scheduling, they enhance convenience and energy efficiency. Whether you’re upgrading your home or starting fresh, Kasa switches are a smart choice.