to fit your space? How do you connect or extend them? What about syncing them to your TV for an immersive experience? This guide dives into these queries with detailed, trustworthy answers based on hands-on insights and official sources. Whether you’re a DIY enthusiast or a smart home newbie, we’ll help you unlock the full potential of your Govee RGBIC lights.
Table of Contents
Can You Cut Govee RGBIC LED Strip Lights?
Trim Your Govee RGBIC Lights Without Fear: Here’s How!
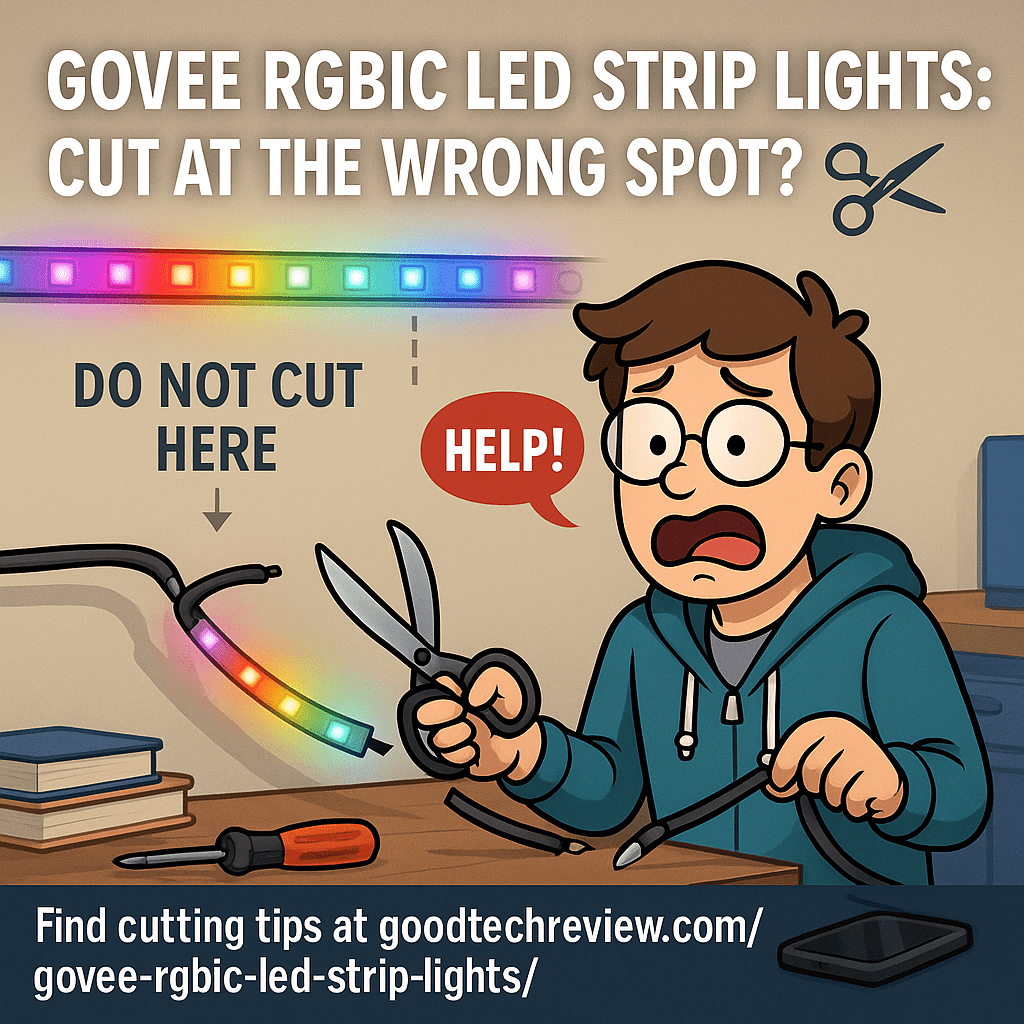
Govee RGBIC LED strip lights can be cut, but only at specific marked points to avoid damaging the strip. Unlike standard RGB strips, RGBIC lights use individual control (IC) chips to manage each LED segment, which makes cutting more delicate. Look for dotted lines or copper pads (often three gold ovals) every few inches (typically every 2.7–3 inches, depending on the model). These indicate safe cutting points between closed circuits.
Steps to Cut Safely:
- Unplug the Power: Always disconnect the strip from the power source to prevent electrical damage or shock.
- Locate Cut Lines: Find the marked cut points (dotted lines or copper pads). For example, Reddit users confirm that cutting at the three copper bars on models like the H618F or M1 works without issues.
- Use Sharp Tools: Cut precisely down the center of the marked line with sharp scissors or a knife to ensure a clean cut.
- Seal the End: Apply electrical tape or a silicone cap to the cut end to prevent shorting, especially for outdoor models like the Govee RGBIC Pro, which may have an IP65 rating.
- Recalibrate in the App: After cutting, use the Govee app to recalibrate the strip for accurate segment control. Some users note that presets may slightly shift if cuts don’t align perfectly with LED segments, but functionality remains intact.
Important Notes:
- Cutting removes the excess portion, which becomes unusable as it’s no longer connected to the controller.
- Some models, like the H6713, may not support cutting due to their design, so check your model’s manual or Govee’s website.
- Govee’s official stance is that RGBIC strips “cannot be cut” to avoid warranty issues or user errors, but many users successfully cut models like the M1 without losing functionality.

How to Connect Govee RGBIC Lights Together
Link Your Govee RGBIC Lights for Seamless Brilliance!
Connecting Govee RGBIC lights is possible, but trickier than with standard RGB strips due to the IC chips that control individual LEDs. You cannot simply extend RGBIC strips by adding a second strip, as the controller is designed for a specific number of LED segments. However, you can reconnect cut segments of the same strip using connectors or soldering.
Methods to Connect:
Using Quick Connectors:
- Purchase 4-pin 10mm connectors (available on Amazon) compatible with your strip’s width.
- Cut at the marked copper pads, align the copper dots with the connector’s slots, and snap the connector closed.
- Ensure the strip’s directional arrows point the same way to maintain data flow.
- Test the connection before permanent installation.
Soldering:
- For a more secure connection, solder wires (e.g., 22AWG 3-conductor cables) between the copper pads of cut segments.
- Strip the wires, solder them to the copper dots, and cover with heat-shrink tubing or silicone for durability, especially for outdoor use.
- Reddit users report soldering multiple segments (e.g., six sections) with full functionality, including app control and animations.
Limitations:
- You cannot connect two separate RGBIC strips (e.g., two 50ft rolls) to act as one, as the controller won’t recognize additional LEDs beyond its original segment limit.
- Voltage drop may occur with long extensions, causing dimming or color inconsistencies, so keep connections short (e.g., under 15cm).
Can You Extend Govee RGBIC Lights?
Need More Length? Extend Your Govee RGBIC Lights the Right Way!
Extending Govee RGBIC lights by adding a second strip is generally not possible due to the controller’s fixed segment capacity. Each RGBIC strip’s controller is programmed to manage a specific number of LEDs, and adding another strip results in the extra LEDs lighting up but not responding to app controls or animations. However, you can extend a single strip’s layout by cutting and reconnecting segments with short extension wires.
How to Extend:
- Cut and Reconnect: Follow the connection steps above (using connectors or soldering) to rejoin cut segments with short wires (e.g., 15cm) to bridge gaps, like around corners or furniture.
- Check Directionality: Ensure the strip’s directional arrows align to maintain data flow.
- Recalibrate: Update the segment count in the Govee app to ensure animations display correctly.
- Limitations: Extensions longer than 40cm may disrupt animations, and adding new strips won’t work due to controller limits.
How to Install Govee RGBIC Outdoor LED Strip Lights
Glow Up Your Outdoors with Govee RGBIC Lights Here’s How!
Installing Govee RGBIC outdoor LED strip lights (e.g., models H6175, H6173, H6176) requires careful planning to ensure durability and vibrant lighting, especially given their IP65 weatherproof rating for outdoor use.
Installation Steps:
- Plan the Layout: Measure the area (e.g., eaves, fences, or patios) and map out the strip’s path. Ensure the strip length (10m, 20m, or 30m) fits your space.
- Choose Mounting Method:
- 3M Tape: Use the adhesive backing for quick, temporary setups on smooth surfaces.
- Clips or Hooks: Secure with clips for added stability, especially in windy areas.
- Mounting Brackets: Opt for eco-friendly brackets for permanent installations.
- Positioning: Place the strip 2–4 inches from the wall for optimal light diffusion and aesthetics.
- Power and Control: Connect to a power source (e.g., EU 2-pin plug for H6175) and pair with the Govee app via Bluetooth or Wi-Fi (2.4GHz only).
- Test and Adjust: Power on the lights, test via the app, and adjust for even illumination. Recalibrate in the app if cut.
- Weatherproofing: Ensure cut ends are sealed with silicone for outdoor models to maintain the IP65 rating.
Tips:
- Avoid cutting unless confirmed safe for your model (e.g., M1 is cuttable, H6713 may not be).
- Use a diffuser for a polished look in high-humidity areas like hot tub rooms.
- Reddit users suggest testing the strip’s full length before permanent installation to avoid surprises.

How to Set Up Govee RGBIC TV Backlight
Immerse Yourself in TV Magic with Govee RGBIC Backlighting!
Setting up a Govee RGBIC TV backlight (e.g., Govee DreamView or TV Strip Lights) creates an immersive viewing experience by syncing lights with on-screen colors. Here’s how to do it right.
Setup Steps:
- Choose the Right Kit: Use a Govee TV sync device like DreamView or RGBIC TV Strip Lights (e.g., H619DAD1).
- Measure and Cut (If Allowed): Check if your model allows cutting (e.g., M1 strips can be cut at copper pads). Measure your TV’s perimeter and cut at marked points if needed.
- Install the Strips:
- Clean the TV’s back to ensure adhesion.
- Apply the strips along the TV’s edges using the adhesive backing, ensuring even spacing.
- Secure with clips if needed for larger TVs (e.g., 45–50 inches).
- Connect to HDMI: For DreamView, connect the sync box to your TV’s HDMI port to capture on-screen colors.
- Pair with Govee App: Download the Govee Home app, enable Bluetooth or Wi-Fi (2.4GHz), and add the device. Follow prompts to pair.
- Calibrate: Use the app to map the TV screen and adjust color accuracy. Test with a colorful video to fine-tune.
- Sync Settings: Enable “Video Mode” in the app to sync lights with on-screen content. Adjust brightness or speed as desired.
Tips:
- For 50ft rolls (e.g., H619DAD1), note that two 25ft strands may mirror colors unless set to “ALL” in DreamView, limiting zone-specific control.
- Reddit users suggest experimenting with a small cut first to ensure functionality.
- Ensure a stable Wi-Fi connection for smooth app control.

Where to Cut Govee RGBIC LED Lights
Cut Govee RGBIC Lights Like a Pro: Know the Sweet Spot!
To cut Govee RGBIC LED lights, locate the marked cut lines, typically indicated by dotted lines or three copper pads (gold ovals) every 2.7–3 inches, depending on the model (e.g., H618F, M1). These points are between closed circuits to preserve functionality.
How to Identify:
- Look for a black dotted line or three gold ovals on the strip. Some models require you to turn on the strip to see the marks.
- For outdoor models like the RGBIC Pro, check for silicone-covered cut points and strip the coating before cutting.
- Avoid cutting outside these lines, as it can damage the IC chips and render the strip or a section unusable.
Post-Cut Care:
- Seal the cut end with electrical tape or silicone, especially for IP65-rated outdoor strips.
- Recalibrate in the Govee app to adjust for the new length.
How to Sync Govee RGBIC Lights to TV
Turn Movie Night into a Light Show with Govee RGBIC Sync!
Syncing Govee RGBIC lights to your TV creates a dynamic, immersive experience, especially with devices like the Govee DreamView or RGBIC TV Strip Lights.
Syncing Steps:
- Install the Backlight: Follow the TV backlight setup steps above, ensuring strips are placed evenly around the TV’s edges.
- Connect the Sync Device: Use a Govee DreamView sync box, connected via HDMI, to capture on-screen colors.
- Open the Govee App: Pair the device via Bluetooth or Wi-Fi (2.4GHz). Go to the app’s “Video Mode” or “DreamView” settings.
- Calibrate Colors: Follow the app’s prompts to map your TV screen. Play a colorful video to test and adjust color accuracy.
- Customize Effects: Adjust brightness, speed, or color intensity in the app. Save as a scene for quick access.
- Optional Music Sync: Enable music mode to sync lights with audio for a combined effect.
Tips:
- For models like the 50ft H619DAD1, both 25ft strands sync as one, limiting side-specific zoning unless using “ALL” mode.
- Ensure a strong Wi-Fi signal to avoid lag in color changes.
- Reddit users recommend testing with dynamic content (e.g., action movies) for the best effect.
Shine Bright with Govee RGBIC Confidence
Govee RGBIC LED strip lights bring vibrant, smart lighting to your home, but their advanced IC technology requires careful handling when cutting, connecting, or syncing. From trimming at marked copper pads to syncing with your TV for a cinematic glow, these steps empower you to customize your setup with ease. By following our detailed guide backed by user insights and official sources, you can avoid common pitfalls and create stunning lighting effects. Ready to transform your space? Dive into your Govee RGBIC project and light up your world! For more tips, visit Goodtechreview.

One thought on “Glow Up with Govee RGBIC LED Strip Lights: Tips & Tricks 2025”