Govee lights and smart plugs have become go-to choices for anyone looking to elevate their smart home game. Whether you’re aiming to create a cozy indoor vibe with LED strips or automate your outdoor setup with a weatherproof plug, Govee offers affordable, user-friendly solutions. But how do these devices work, and what makes them stand out? In this detailed guide, we’ll dive into every aspect of your Govee-related questions, covering setup, features, wattage limits, and more; this answer draws from reliable insights to help you confidently use Govee products. Let’s get started!
Table of Contents
How Do Govee Lights Plug In?
Govee lights, like their popular LED strips and bulbs, are designed for easy integration into your home. Most models come with a power adapter that connects directly to the light source, whether it’s a strip, bulb, or outdoor fixture. Simply plug the adapter into a standard electrical outlet, and you’re good to go. For indoor use, this means any wall socket will do, while outdoor models (like the Govee Outdoor Smart Plug) need a weatherproof outlet or an indoor socket within reach. Always check the voltage requirements in the product manual to ensure compatibility. Bonus: Many Govee lights pair with Wi-Fi or Bluetooth for app-based control via the Govee Home app.
How to Plug In Govee LED Lights
Setting up Govee LED lights is a breeze if you follow these steps:
- Unpack Everything: Open the box to find the LED strip, power adapter, and control box.
- Make the Connections: Attach the LED strip to the control box, then link the control box to the power adapter.
- Power Up: Plug the adapter into a standard outlet any 120V socket works for Sara’s indoor setups.
- App Setup: Download the Govee Home app, connect the lights to your Wi-Fi, and start customizing colors, schedules, and scenes.
For outdoor LED lights, ensure the control box stays dry unless the product is fully waterproof. It’s that simple!

How to Reset a Govee Smart Plug
If your Govee Smart Plug is acting up or needs a fresh start, resetting it is straightforward:
- Soft Reset: Unplug it from the outlet for 10 minutes, then plug it back in to reboot and refresh the connection.
- Hard Reset: Press and hold the power button for 5–6 seconds until the LED flashes rapidly. This wipes all settings back to factory defaults.
After resetting, reconnect it to the Govee Home app and your Wi-Fi network. Note: You won’t need to repeat this unless troubleshooting or switching setups!
How Do You Plug In Govee Outdoor Lights?
Govee outdoor lights, like those paired with the Outdoor Smart Plug, are built for exterior use. Here’s how to set them up:
- Pick the Right Outlet: Use a weatherproof outdoor outlet or an indoor one if it’s close enough.
- Connect the Pieces: Link the lights to the control box and power adapter.
- Plug It In: Insert the adapter into the outlet, keeping connections secure and dry.
- App Configuration: Open the Govee Home app, connect to Wi-Fi, and tweak your settings.
For safety, consider a GFCI outlet or surge protector to guard against electrical issues.

How Many Watts Can a Govee Plug Handle?
Govee smart plugs are designed with safety and practicality in mind. For example:
- Govee Smart Plug (H5081): Handles up to 10A and 1200W at 120V.
- Govee Smart Plug Pro: Likely matches or exceeds this, though exact specs depend on the model check the manual.
Avoid overloading to prevent overheating. Always confirm the wattage rating for your specific plug to keep things running smoothly.
Govee Smart Plugs Models and Features
Govee’s smart plug lineup offers something for everyone:
- Govee Smart Plug: Basic remote control and scheduling.
- Govee Outdoor Smart Plug: Weatherproof for outdoor devices.
- Govee Smart Plug Pro: Adds energy monitoring and Matter compatibility.
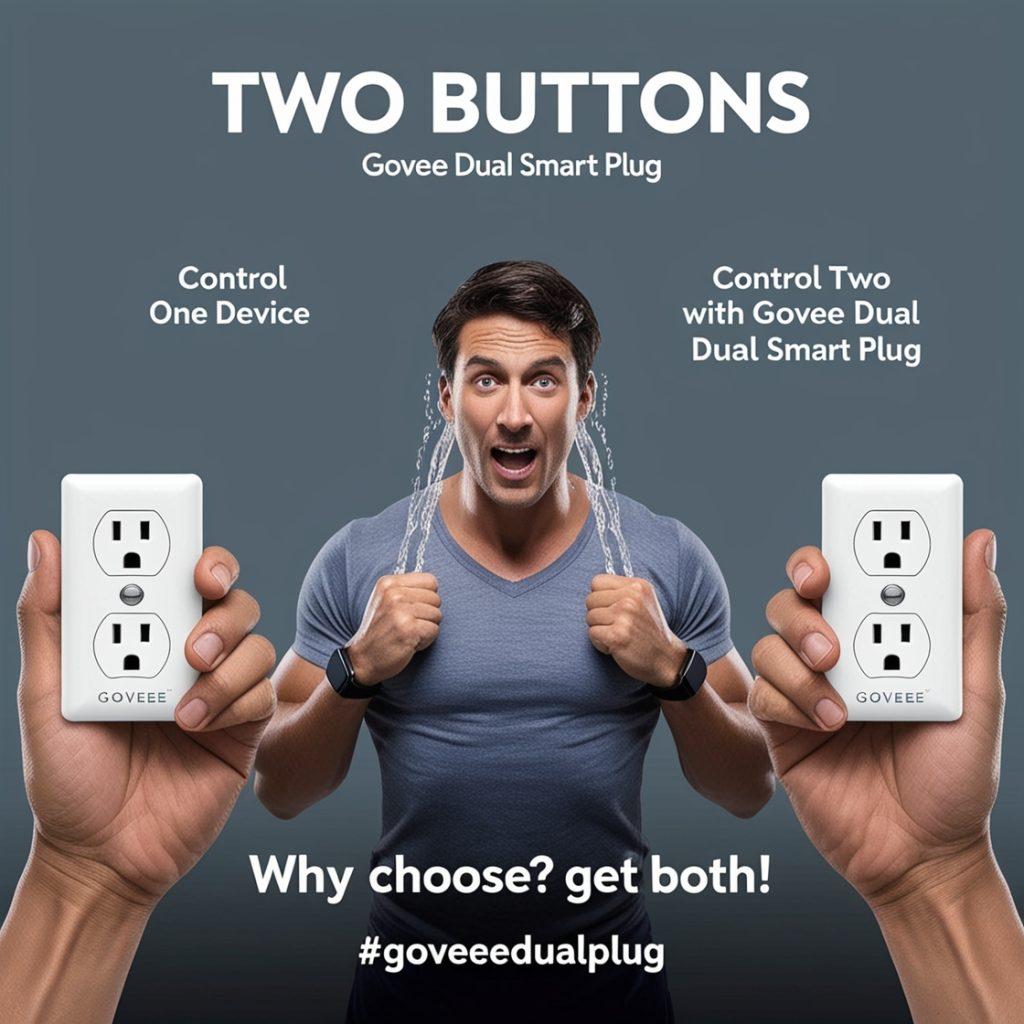
- Govee Dual Smart Plug: Controls two devices from one plug.
- Govee Smart Wi-Fi Plug: Standard Wi-Fi-enabled plug for app and voice control.
All integrate with Alexa, Google Assistant, and HomeKit, and most use Wi-Fi (2.4 GHz only) or Bluetooth. Setup happens via the Govee Home app, making them a breeze to manage.

How to Set Up a Govee Smart Plug
Getting your Govee Smart Plug up and running is quick:
- Get the App: Download Govee Home from the App Store or Google Play.
- Add Your Plug: Hit the “+” in the app, pick your model, and follow the prompts.
- Connect to Wi-Fi: Use a 2.4GHz network (not 5GHz) for compatibility.
- Take Control: Turn devices on/off, set timers, or track energy use (on supported models).
Extras like group control and smart home platform integration make it even more versatile.
Govee Dual Smart Plug Setup
The Govee Dual Smart Plug doubles your control in one unit. Setup mirrors the standard process:
- App First: Install Govee Home and add the device.
- Wi-Fi Link: Connect to your 2.4GHz network.
- Dual Control: Assign each outlet its own schedule or commands via the app.
It’s perfect for managing two devices, like a lamp and a fan, without extra clutter.

Govee Smart Plug With Energy Monitoring
Some Govee plugs, like the Smart Plug Pro, track energy usage. After setup, the app displays real-time power consumption, helping you optimize efficiency. It’s a handy feature for eco-conscious users or anyone curious about their devices’ habits.
Govee Smart Plug Timer and Nearby Control
Set timers in the Govee Home app to automate your plug — think turning lights off at midnight or starting the coffee maker at dawn. “Nearby” control uses Bluetooth for short-range operation when Wi-Fi’s unavailable, keeping you in charge even offline.
Govee Smart Plug App
The Govee Home app is your command center. It’s intuitive, letting you:
- Toggle power.
- Set schedules or timers.
- Group devices for unified control.
- Monitor energy (on compatible models).
It’s available on iOS and Android, tying all your Govee gear together.
Govee Smart Plug Home Assistant Compatibility
For advanced users, Govee plugs (especially the Pro with Matter support) work with Home Assistant. After app setup, link them via Wi-Fi or Matter for custom automations in your smart home ecosystem. It’s a geek’s dream!
Govee vs. Kasa Smart Plug: A Quick Comparison
Wondering how Govee stacks up against Kasa? Here’s the breakdown:
- Price: Govee is often cheaper.
- Features: Both offer remote control and voice compatibility, but Kasa edges out with a slicker app and more advanced options.
- Size: Govee plugs are bulkier, which might matter in tight spaces.
- Reliability: Both are solid, though Govee’s budget-friendly vibe shines for basic needs.
Govee’s a win for value; Kasa’s better for power users.
Govee Smart Plug Reviews
Users love Govee plugs for their affordability and ease. The app’s simplicity gets praise, though some find it less polished than competitors. Size can be a drawback, but performance is reliable. For the price, they’re a strong contender in the smart plug market.
Govee Smart Plug Near Me: Availability
Looking for Govee plugs locally? Check retailers like Amazon, Walmart, or Best Buy they may carry them online, with some in-store options. “Near me” depends on your location, so search Govee’s site or use a store locator for the latest stock.
Govee Smart Plug Pro With Pico Remote
The Smart Plug Pro sometimes pairs with a Pico remote (sold separately or bundled in rare cases). This tiny add-on offers physical control no app required. Setup stays the same; just sync the remote via the app for an extra layer of convenience.
Conclusion: Your Govee Game Plan
Govee lights and smart plugs bring smart home magic within reach. From plugging in LED strips to resetting plugs or tracking energy, this guide covers it all with clear, actionable steps. Whether you’re a newbie or a smart home pro, Govee’s blend of affordability, features, and ease makes it a standout. Ready to dive in? Grab your Govee gear, fire up the app, and transform your space. Need more help? Govee’s website and support team have your back!
